
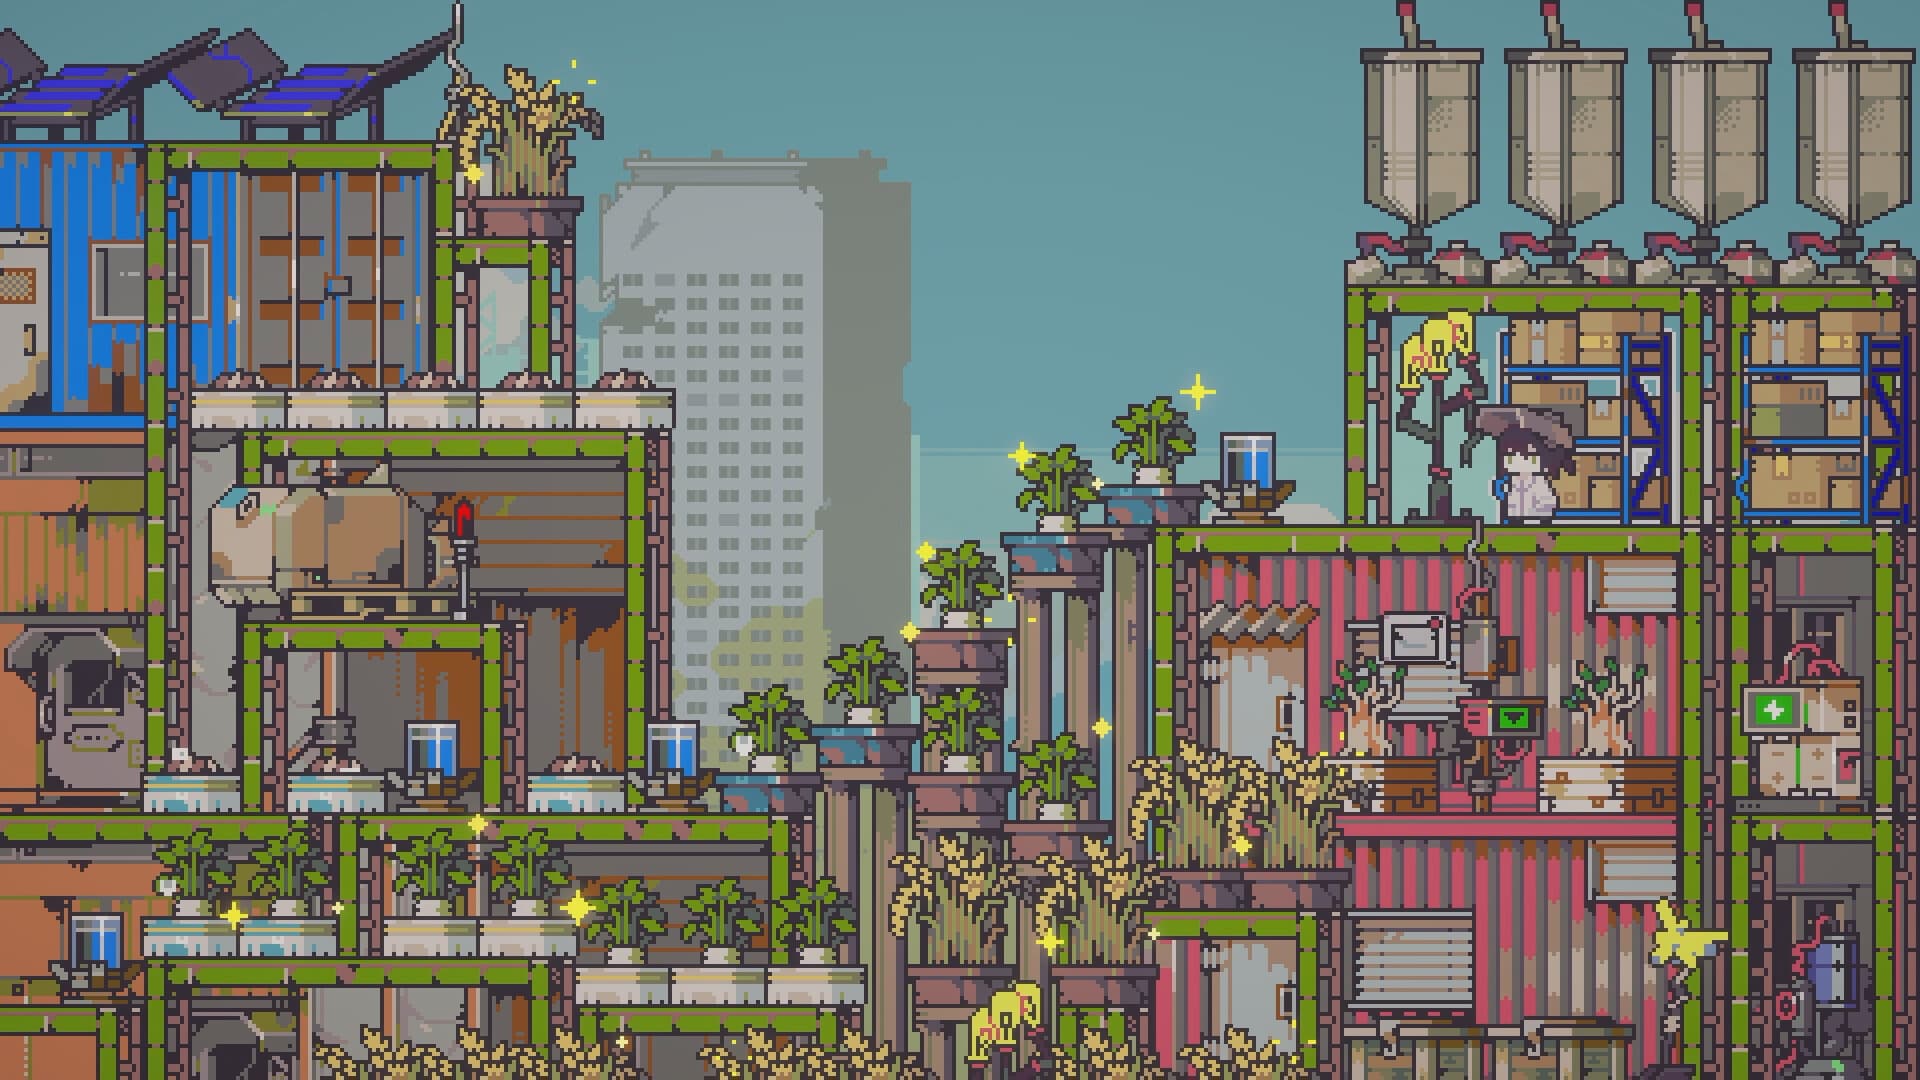
Build a small weather-safe crop loop, sell ordinary goods through the Cargo Drone, target zero-junk fishing pools, and spend early gold on inventory and access before farm expansion.
The fastest reliable way to make money
The safest Doloc Town money route is a small weather-protected crop loop backed by targeted fishing and correct selling. Grow quick crops without expanding beyond your watering capacity, use the Cargo Drone for ordinary full-price sales, and fish at Forest Pond when farm work is finished. Spend the first profits on inventory, Copper tools and transport because those upgrades increase what every later day can produce.
Do not process an item simply because a machine accepts it. Compare the finished item's sale price with the value of every ingredient, then consider processing time, power and machine capacity. Version 1.0 data confirms several profitable lines, but some Early Access crop and recipe prices changed and are marked To be verified below.
Crops: stable cash before maximum profit
| Stage | Crop or plan | Verified behavior | Money use |
|---|---|---|---|
| Opening days | Endyam | Roughly two days to mature, one harvest, tolerant of dangerous early weather | Fast turnover and low loss risk while planter space is limited |
| Early high value | Chinese Cabbage | Higher raw value than starter crops but vulnerable without protection | Sell raw when the correct merchant or Drone price beats available recipes |
| Stable rain-season farm | Strawberry | About eight days to first harvest, then roughly five-day regrowth, with multiple yield | Better use of protected planters after watering is reliable |
| Later automated farm | Eden Fruit | About seven days to first harvest and three-day regrowth in collected data | High-value recurring harvest for established farms |
| Grinder line | Mint | Recorded as 40G raw and 65G as Mint Oil | Small, confirmed processing uplift |
| Jar line | Crawlrus Vine | Recorded as 70G raw and 155G when jarred | Stronger per-item uplift if Jar capacity is available |
| Brewing line | Hops | Recorded as 75G raw, 300G Beer and 600G Aged Beer | High-value two-stage processing for a developed farm |
Endyam is valuable because it keeps the first planters working, not because it has the highest final price. Collected sources show 20G, 30G and 40G raw Endyam values from different versions, so the current 1.0 raw price is To be verified in the selling interface. The practical advice remains stable: use the free starting seeds, protect the crop cycle, and avoid spending the first 500G on unnecessary extra seed stock.
Recurring crops become stronger after sprinklers, storage and weather protection are in place. A theoretical high-price harvest loses money if acid rain, lightning or missed watering destroys it. Build enough capacity to maintain the current crop count before adding another vertical row.
Processing profits and loss traps
| Input | Machine and output | Collected value | Decision |
|---|---|---|---|
| 2 Endyam | Cooking Pot → Mixed Endfoods | Older video: about 80G input → 110G output | Positive example from an older build; 1.0 value is To be verified |
| Chinese Cabbage + Shrimp | Cooking Pot → Delicious Stir-fried Meat | Older recipe data: about 140G input → 240G output | Useful method, but verify the current recipe result before batch cooking |
| Egg | Pickling Jar → Century Egg | Older video: 75G → about 200G | Strong early example; 1.0 value is To be verified |
| Mint | Grinder → Mint Oil | 40G → 65G | Confirmed release-version guide value |
| Crawlrus Vine | Jar → Jarred Crawlrus | 70G → 155G | Confirmed release-version guide value |
| Hops | Brewing Cask → Aging Rack | 75G → 300G → 600G | Confirmed value chain; processing duration is not yet verified |
| Terrorfish Roe | Jar → Caviar | 250G finished value | Do not calculate profit until roe output and cycle time are known |
| Salmon Roe | Jar → Premium Caviar | 500G finished value | Useful aquaculture sale product |
| Sturgeon | Raw fish or Premium Caviar | 1,500G raw fish versus 500G caviar | Sell the fish; processing destroys value |
| Golden Fish | Smoker → Gold Ore | 1,000G raw fish or a material conversion | Convert only when Gold Ore is worth more to progression than cash |
| Koi | Aquarium side product | Can produce Bus Tickets | Reduces future travel cost rather than giving immediate gold |
Use the simple calculation finished sale price − total raw sale value as a first filter. A positive result is only gross value: it does not include time, fuel, electricity or an occupied machine slot. This is why Sturgeon should be sold raw and why an unverified recipe should be tested with one batch before a full harvest is committed.
Processing also competes with food supply. Shrimp, Bamboo Shoots and other cheap materials can create practical stamina food that extends a mining or fishing day. A lower sale price can still be the better decision when the meal allows another profitable route, but the article should treat that as productivity rather than direct processing profit.
Fishing for gold without wasting a day
| Target | Conditions | Base price | Why it matters |
|---|---|---|---|
| Golden Fish | Forest Pond, all seasons, any weather, all day, Tier 1 | 1,000G | The pool has 0% junk and the fish is always available |
| Sturgeon | Freshwater or Forest Pond, Light Rain or Early Dry, Tier 1 | 1,500G | Highest-value freshwater target, but rare and difficult |
| Dumbo Octopus | Heavy Rain season, Open Sea/Docks/Wetland Coast, Tier 1 | 1,500G | High-value single-season coastal target |
| Mahi-mahi | Harsh Dry, Open Sea/Docks/Wetland Coast, Tier 2 | 1,500G | Extremely difficult; Carbon Fiber is recommended in practice |
| Glow Eel | Scorching Sun, coastal pools, Tier 1 | 400G | A clear special-weather target |
| Tuna | Light Rain or Heavy Rain, coastal pools, Tier 2 | 300G | Useful rain-season coastal income |
| Salmon Festival | Light Rain days 25–27, Tier 2 | 145G each | Combines festival progress, fishing achievements and sales |
Forest Pond is the default money pool because every successful bite avoids the ordinary junk roll. Golden Fish is still R3 and Sturgeon is R4, so neither is guaranteed on a short visit. Fish there after farm work instead of abandoning a healthy crop cycle for an entire day of random casting.
Polluted Water and Wetland Wastewater have a 100% junk rate. They can produce materials such as Drone Wreckage, but they are not fish-profit locations. Use them only when the target is a specific scrap item, not when the goal is Golden Fish or collection completion.
Where to sell items
| Channel | Payment | Price behavior | Best use |
|---|---|---|---|
| Cargo Drone | Returns after a short delay | Pays full value for almost every ordinary product | Crops, fish and processed goods when money is not needed immediately |
| Specialist merchant | Immediate | Full value for matching categories; unrelated goods may be discounted | Emergency cash after checking the price indicator |
| Lank / Scrapyard | Immediate | Full-price route for scrap and junk | Rubbish and mechanical junk that is safe to sell |
| Guild Board | Paid after task completion | Gold plus possible items or relationship rewards | Requests that match an existing farm or exploration route |
| Fourth-month sale | Uses the chosen normal channel | Most goods are reported to sell for noticeably more | Stockpiled non-essential products and processed goods |
The Cargo Drone is the safest default because it avoids merchant-category discounts. A video example shows Chinese Cabbage at about 130G in the correct shop and 104G at the Fisherman, demonstrating why immediate payment can be worse. Check the downward price indicator before confirming a sale.
Lank is the correct full-price outlet for junk, but do not empty every mechanical stack. Old Electric Wire and Old Battery gain repair or crafting uses later in progression. Keep a reserve, then sell only the excess that is not required for a current recipe, repair or faction request.
The release-version community data reports significantly higher prices for most goods during the fourth month. It does not provide one universal multiplier, so this is a stockpiling strategy rather than a guaranteed percentage increase. Keep enough early cash for tools and crop protection, then hold non-essential goods for the fourth-month selling screen.
Best early investments
| Priority | Upgrade | Recorded cost | Return on investment |
|---|---|---|---|
| 1 | First backpack upgrade | 500G | Expands 10 slots to 20 and reduces wasted collection trips |
| 2 | Cardboard Boxes and Storage Shelf | Mostly task rewards | Each box holds five item types and can feed crafting directly |
| 3 | Copper Pickaxe | About 1,500G in collected video data | Clears the Rivervalley boulder, large junk and richer mining routes |
| 4 | Copper Axe | To be verified | Opens western Rockwood and Rivervalley Bamboo routes |
| 5 | Copper Sickle | To be verified | Clears Botanical Lab vines; buy when that route is needed |
| 6 | Bamboo Fishing Rod | 1,000G | Tier 2 is the highest minimum requirement in the verified fish list |
| 7 | Bus Station repair | Task materials; travel uses a Ticket or a reported 30G fallback | Removes travel time between Farm, Town and Outpost |
| 8 | Sleeping Bag | 150G | Supports safe long mining, exploration and fishing routes |
| 9 | Sprinklers and weather protection | Recipe-dependent | Prevents missed watering, acid rain and lightning from erasing revenue |
| 10 | Farm expansion | Two expansions reported around 25,000G total | Opens the left exit and adds capacity after the current farm is efficient |
Buy the backpack before optional seeds because the opening 300G plus the mayor's 200G task reward can cover it. Cardboard Boxes multiply practical carrying capacity without waiting for the 4,000G and 10,000G backpack tiers. Put common materials inside them so pickups and crafting can use those stacks while ordinary inventory remains free.
Copper Pickaxe is the most important access investment. Copper Axe and Sickle are separate route keys, so they should follow the actual obstacle you need to clear. The same principle applies to fishing rods: Bamboo completes every verified minimum tier, while Fiberglass and Carbon Fiber mainly reduce difficulty.
A repeatable daily money route
Start with crop care and harvests, then check the Guild Board and weather. If the weather matches a premium fish, take storage and fish after farm work; otherwise combine a Rivervalley material run with an existing task. Return before the day-end penalty, process only confirmed profitable goods, and ship ordinary products through the Cargo Drone.
Hold a working reserve of food, common crafting material and repairable scrap. Save non-essential processed goods for the fourth month while keeping enough cash for the next access upgrade. This loop creates income from crops, fishing, tasks and exploration without depending on one rare catch.
Version notes
All prices identified as version 1.0 use the collected August 2026 data. Endyam, Chinese Cabbage, Kelp and several fish have conflicting Early Access prices, so an exact current value is omitted where no release-version confirmation exists. Processing time, electricity use and universal fourth-month multipliers are also To be verified, preventing unsupported hourly-profit claims.
How this guide was checked
Crop, processing, fishing, selling, and investment advice was kept only when supported by the supplied version 1.0 tables or gameplay observations.
- Official Doloc Town Steam pageRelease, developer, platform, and official game overview.
- 30+ Early Game Tips & Tricks videoFull-release gameplay demonstrations and timestamped route notes.
- Doloc Town 1.0 100 Days videoVersion 1.0 progression, farming, exploration, and economy observations.
Reviewed by the Doloc Town Wiki editorial team for version 1.0 · Last evidence review: 2026-08-11 · Read the editorial policy
Compare every crop before planting
Use growing months, harvest timing, regrowth and weather protection to choose the next crop cycle.
Doloc Town Crops Guide: Seasons, Yields & Genes