
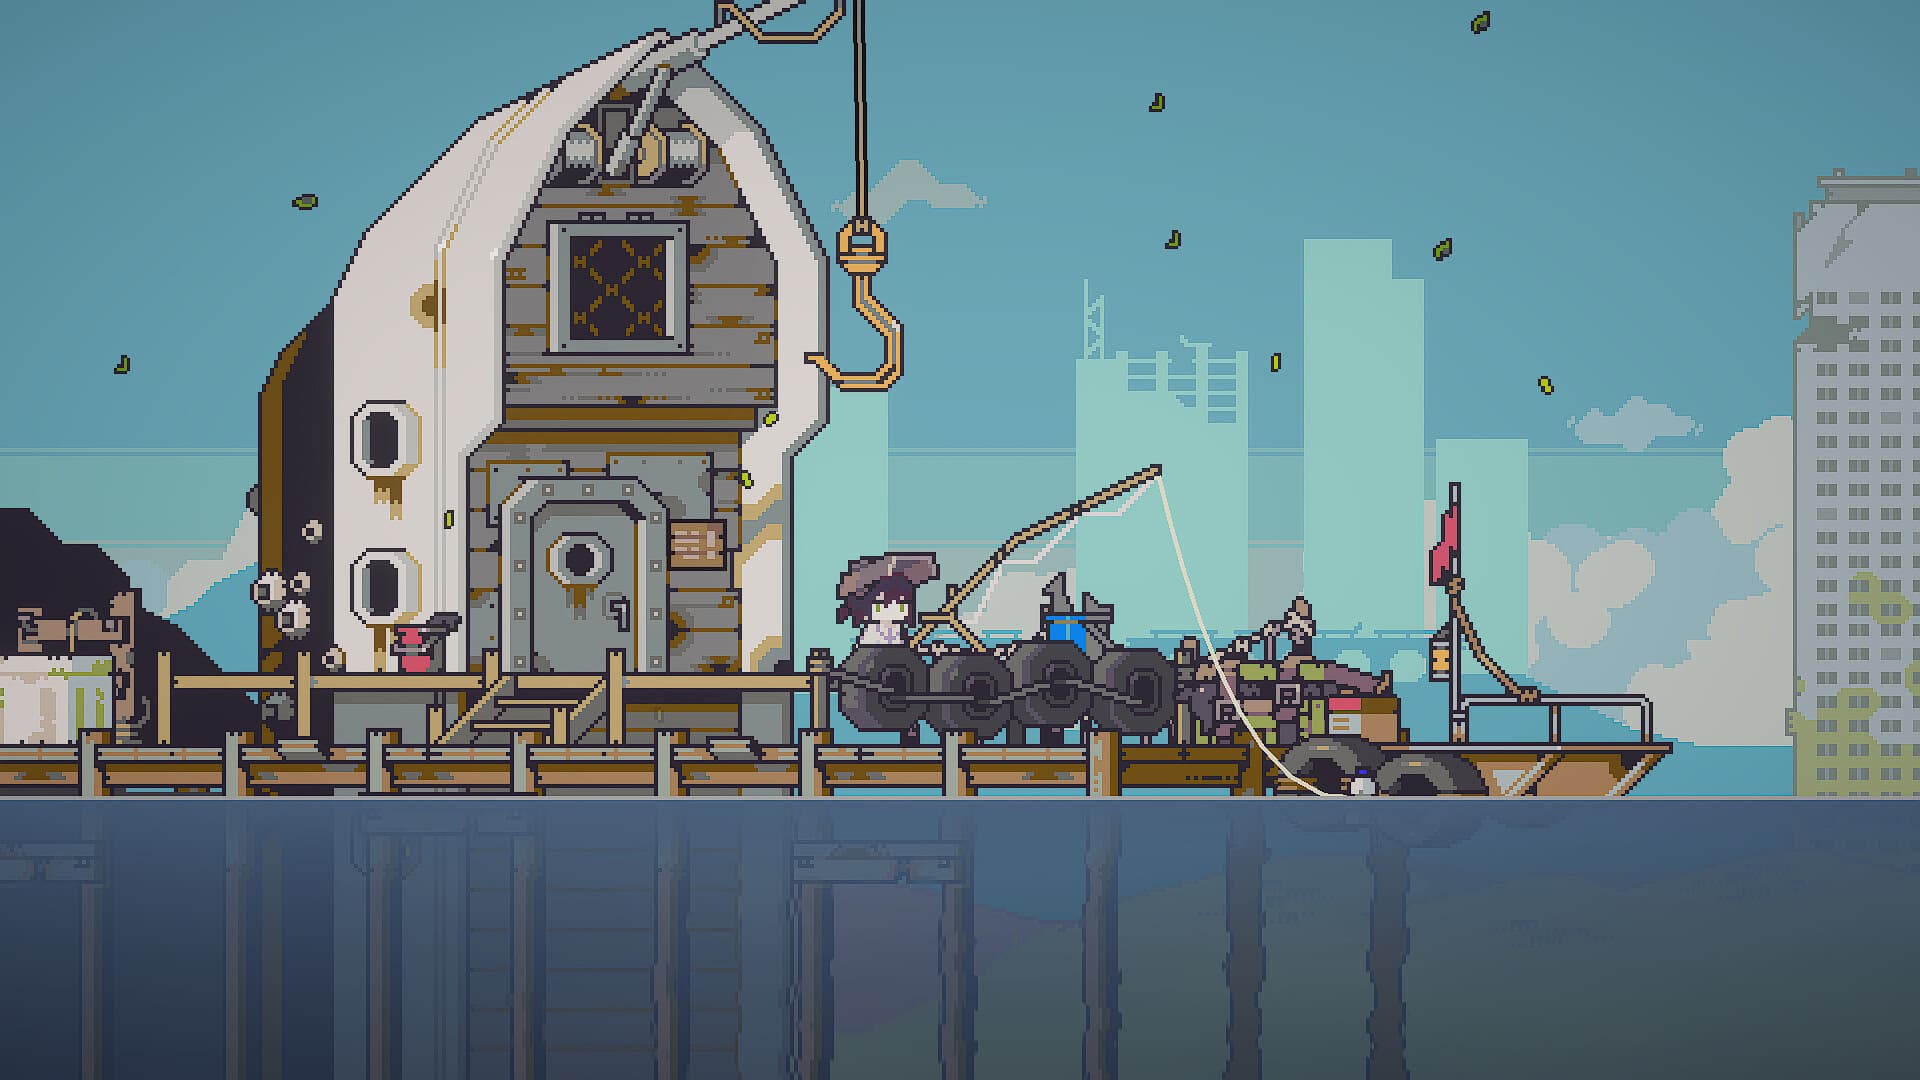
Choose the correct water pool first, then match rod tier, season, weather and time. Forest Pond is the safest money and collection stop because it has no junk and is the only wild Golden Fish location.
Where to find fish in Doloc Town
Doloc Town fish locations are controlled by the exact water pool, rod tier, season, weather and sometimes the clock. Start by identifying the pool type instead of casting at every patch of water that looks similar. For the easiest collection and money route, use the hidden Forest Pond: it has a 0% junk rate, carries the premium freshwater pool, and is the only confirmed wild location for Golden Fish.
The verified 1.0 data lists 19 named pool types even though one data summary refers to 20. The missing twentieth name is To be verified, so it is not included as a real location. Polluted Water and Wetland Wastewater both have a 100% junk rate and should not be used when the goal is to catch fish.
How to catch Golden Fish in Doloc Town
Go to the hidden Forest Pond in Deep Forest and use the Old Fishing Rod or any better rod. Golden Fish is available in every season, in any weather, and at any time of day. It has a recorded base value of 1,000G, requires rod tier 1, and Forest Pond is the only confirmed wild pool that contains it.
| Golden Fish requirement | Confirmed answer |
|---|---|
| Location | Hidden Forest Pond in Deep Forest |
| Minimum rod | Old Fishing Rod, tier 1 |
| Season | All seasons |
| Weather | Any weather |
| Time | All day |
| Base value | 1,000G |
| Pool junk rate | 0% |
Complete water location table
| Water pool | Where to find it | Junk rate | Important catches |
|---|---|---|---|
| Freshwater | East Pond, Mountain Pond, Ridge Valley hidden cliff pool, Rivervalley pools | 20% | Carp, Catfish, Four-eyed Fish, Grass Carp, Needlefish, Rainbow Trout, Wolf Fish, Koi, Sturgeon, Salmon |
| Forest Pond | Hidden pond in Deep Forest | 0% | Full premium freshwater pool plus Golden Fish |
| Open Sea | Central seawater pool at Doloc Dock | 20% | Sardine, Bass, Cod, Eel, Tuna, Glow Eel, Dumbo Octopus, Mahi-mahi, Salmon, Kelp |
| Docks / Trestle | Pools beside and under the dock bridges | 20% | Open Sea pool plus Shrimp and Mimicry Fish |
| Shallows / Puddles | Rivervalley Outpost, Small Forest and mountain foothills | 20% | Shrimp, Loach, Snail |
| Polluted Water | Garbage Mountain polluted pool | 100% | Junk only |
| Wetland Coast | Coast, peatland, flooded grassland and Wetland Farm | 20% | Coastal fish including Tuna, Glow Eel, Dumbo Octopus and Mahi-mahi |
| Wetland General | Ordinary wetland freshwater pools | 20% | Shrimp, Loach, Snail, Aquatic Chameleon Bug |
| Wetland Aquafarm | Wetland Aquafarm | 20% | Ricefield Eel, Aquatic Chameleon Bug, Shrimp |
| Wetland Cave | Open cave lake | 50% | Catfish and Pike |
| Wetland Lotus Pond | Lotus pool | 0% | Carp group, Pike and Koi |
| Wetland Wastewater | Pollution zones and the right cave | 100% | Junk only, including valuable Drone Wreckage |
| Wetland Hidden | Hidden cave pool | 0% | Fishbowl Hat only, once per save |
| Old City Coast | Old City coastal water | 30% | Sardine, Bass, Cod, Eel and Glow Eel |
| Old City Deep Water | Deep-water pools | 30% | Catfish group and Arapaima |
| Old City Hidden | Hidden Old City pool | 0% | Carp group, Koi and Lamprey |
| Old City Sewer | Sewer pools | 50% | Hermit Crab, Snail, Aquatic Chameleon Bug, Blanket Octopus |
| Old City Residential | Residential water | 70% | Sea Hare |
| Old City Shallows | Shallow Old City water | 80% | Shrimp and junk |
Use zero-junk pools whenever two locations contain the same target. Forest Pond is better than standard Freshwater for premium fish, while Lotus Pond is the cleaner place for Koi and Pike. Old City Hidden is useful for Lamprey and Koi, but it cannot replace Forest Pond for Golden Fish or Sturgeon.
Fishing rods and upgrade requirements
| Rod | Tier | How to get it | Recorded price | What it unlocks |
|---|---|---|---|---|
| Basic Fishing Rod | 0 | Old Fisherman's Shop at the Dock | 350G | Tier 0 fish and common collection work |
| Old Fishing Rod | 1 | Free during the Old Fisherman introduction; may also appear in the shop | 100G | Catfish, Grass Carp, Golden Fish, Koi, Sturgeon and other Tier 1 catches |
| Bamboo Fishing Rod | 2 | Old Fisherman's Shop | 1,000G | Cod, Tuna, Mahi-mahi and Salmon; this is the highest tier required for collection completion |
| Fiberglass Fishing Rod | 3 | Paiea at the Kon-Tiki Trading Station | 3,000G | No exclusive fish; makes difficult fights easier |
| Carbon Fiber Fishing Rod | 4 | Paiea at the Kon-Tiki Trading Station | 6,000G | No exclusive fish; best practical choice for Mahi-mahi and Sturgeon |
Every cast attempt costs 10 Energy. A better rod does not create a new location or remove a weather condition, so upgrading cannot fix a search in the wrong pool. Bamboo is the completion-critical purchase; Fiberglass and Carbon Fiber are comfort upgrades for difficult minigames.
Fish conditions and sell prices
| Fish | Rarity / shadow | Min. tier | Season, weather and time | Confirmed pools | Base price |
|---|---|---|---|---|---|
| Shrimp | R0 / Small | 0 | All seasons, any weather, all day | Almost every non-polluted pool | 25G |
| Carp | R0 / Small | 0 | All seasons, any weather, all day | Freshwater, Forest, Lotus, Old City Hidden | 30G |
| Catfish | R0 / Medium | 1 | All seasons, 19:00–02:00 | Freshwater, Forest, Wetland Cave/Lotus, Old City Deep | 65G |
| Four-eyed Fish | R1 / Small | 0 | All seasons, any weather, all day | Freshwater, Forest, Lotus, Old City Deep/Hidden | 55G |
| Grass Carp | R1 / Small | 1 | Rainy, Thunderstorm or Acid Rain; all day | Freshwater, Forest, Lotus, Old City Deep/Hidden | 80G |
| Needlefish | R2 / Small | 0 | All seasons, any weather, all day | Freshwater, Forest, Lotus, Old City Deep/Hidden | 100G |
| Rainbow Trout | R1 / Medium | 1 | Light Rain or Heavy Rain; all day | Freshwater and Forest | 75G |
| Wolf Fish | R1 / Large | 1 | Early Dry or Harsh Dry; all day | Freshwater and Forest | 95G |
| Koi | R2 / Medium | 1 | All seasons, any weather, all day | Freshwater, Forest, Lotus, Old City Hidden | 105G |
| Sturgeon | R4 / Large | 1 | Light Rain or Early Dry; all day | Freshwater and Forest | 1,500G |
| Golden Fish | R3 / Medium | 1 | All seasons, any weather, all day | Forest Pond only | 1,000G |
| Ricefield Eel | R1 / Medium | 0 | All seasons, any weather, all day | Wetland Aquafarm only | 135G |
| Pike | R1 / Medium | 0 | All seasons, 06:00–19:00 | Wetland Cave and Lotus Pond | 175G |
| Aquatic Chameleon Bug | R2 / Small | 0 | All seasons, any weather, all day | Wetland General/Aquafarm, Old City Sewer | 110G |
| Sea Hare | R1 / Small | 0 | All seasons, any weather, all day | Old City Residential only | 90G |
| Lamprey | R2 / Small | 0 | All seasons, any weather, all day | Old City Hidden only | 180G |
| Arapaima | R4 / Small | 0 | All seasons, any weather, all day | Old City Deep Water only | 175G |
| Loach | R1 / Small | 0 | Light Rain or Heavy Rain; all day | Shallows and Wetland General | 60G |
| Snail | R1 / Small | 0 | Early Dry or Harsh Dry; all day | Shallows, Wetland General, Old City Sewer | 35G |
| Hermit Crab | R0 / Small | 0 | All seasons, any weather, all day | Old City Sewer only | 65G |
| Blanket Octopus | R2 / Small | 0 | All seasons, any weather, all day | Old City Sewer only | 200G |
| Sardine | R0 / Small | 0 | All seasons, any weather, all day | Open Sea, Docks, Wetland/Old City Coast | 30G |
| Bass | R1 / Medium | 1 | All seasons, any weather, all day | Open Sea, Docks, Wetland/Old City Coast | 65G |
| Cod | R2 / Large | 2 | Light Rain or Heavy Rain; all day | Open Sea, Docks, Wetland/Old City Coast | 170G |
| Eel | R2 / Medium | 1 | Early Dry or Harsh Dry; all day | Open Sea, Docks, Wetland/Old City Coast | 200G |
| Mimicry Fish | R2 / Medium | 1 | Early Dry or Harsh Dry; all day | Docks under the trestle only | 195G |
| Tuna | R3 / Large | 2 | Light Rain or Heavy Rain; all day | Open Sea, Docks, Wetland Coast | 300G |
| Glow Eel | R3 / Large | 1 | Scorching Sun only; all day | Open Sea, Docks, Wetland/Old City Coast | 400G |
| Dumbo Octopus | R3 / Small | 1 | Heavy Rain season only; all day | Open Sea, Docks, Wetland Coast | 1,500G |
| Mahi-mahi | R4 / Small | 2 | Harsh Dry season only; all day | Open Sea, Docks, Wetland Coast | 1,500G |
| Salmon | R5 Event / Large | 2 | Light Rain; festival days 25–27 | Freshwater, Forest, Open Sea, Docks | 145G |
Some earlier data associates Koi, Rainbow Trout, Wolf Fish and Sturgeon with the Water Purification Core state. It also associates Tuna, Eel, Glow Eel, Dumbo Octopus and Mahi-mahi with Core Sample terraforming progress. Those world-state gates are To be confirmed in version 1.0, so do not assume weather is the only requirement if a correct pool remains empty.
Special catches and fishing collectibles
| Catch | Location or condition | Value | Limit or use |
|---|---|---|---|
| Kelp | Open Sea and Docks | 40G | Ingredient and fish-feed material, not junk |
| Fishbowl Hat | Wetland Hidden cave pool | — | One per save; the pool contains nothing else |
| Damp Cloth Strip #1–#3 | Freshwater, Forest, Open Sea and Docks | — | One of each collectible |
| Melody of Sunny Day #2 | Same four pool groups; Light Rain with Sunny/Cloudy/Windy weather | — | Collectible music disc |
| Melody of Sunny Day #3 | Same pools; Heavy Rain with Sunny/Cloudy/Windy weather | — | Collectible music disc |
| Melody of Sunny Day #5 | Same pools; Early Dry with Sunny/Cloudy/Windy weather | — | Collectible music disc |
| Melody of Sunny Day #6 | Same pools; Harsh Dry with Sunny/Cloudy/Windy weather | — | Collectible music disc |
| Special Melody #1 | Same pools; Light Rain, any weather | — | Collectible music disc |
| Drone Wreckage | Wetland Coast/Wastewater and several Old City pools | 100G | Highest recorded base value among common fishing junk |
Do not automatically sell every Old Electric Wire or other mechanical catch. Several scrap items gain repair or crafting uses later, so keep a small reserve until those systems are unlocked. The Lucky Fishhook is not a catch: it is a reward from the Kon-Tiki Special Fish Survey and can later be sold by Paiea, with a chance to award two fish from one success.
Best fishing route for money and completion
Water crops first, carry storage space, and use Forest Pond as the default stop. In Light Rain, target Sturgeon there; in any other season, Golden Fish remains available. Move to the coast only when the calendar creates a clear target such as Dumbo Octopus in Heavy Rain, Mahi-mahi in Harsh Dry or Glow Eel under Scorching Sun.
Keep at least one rare fish before selling or processing it. Fish can be required for research, faction missions or aquarium breeding, and some variants use combinations of ordinary fish. The currently collected Emperor Tuna and Abyssal Lantern Bass formulas conflict between two version 1.0 sources, so both recipes remain To be confirmed rather than presented as guaranteed.
Version notes
The prices above use the collected August 2026 version 1.0 data. Older Early Access references list different values for Grass Carp, Catfish, Loach, Aquatic Chameleon Bug, Tuna, Eel, Glow Eel and Kelp, so those older numbers are not used in the main tables. Update 1.00.03 fixed new fish variants that could not be dried, while the developer also acknowledged that some fish were excessively difficult; future patches may still change minigame difficulty.
How this guide was checked
Water types, rod requirements, conditions, prices, and special catches were reconciled across the collected fishing tables and gameplay notes.
- Official Doloc Town Steam pageRelease, developer, platform, and official game overview.
- Steam Community fishing guideFishing locations and collection reference.
- Steam Community reference guideCommunity-maintained reference tables checked against the collected notes.
Reviewed by the Doloc Town Wiki editorial team for version 1.0 · Last evidence review: 2026-08-17 · Read the editorial policy
Map the River Valley route
Use tool gates, resource layers and the Outpost to plan the next exploration day.
Doloc Town Map: River Valley Routes & Locations