
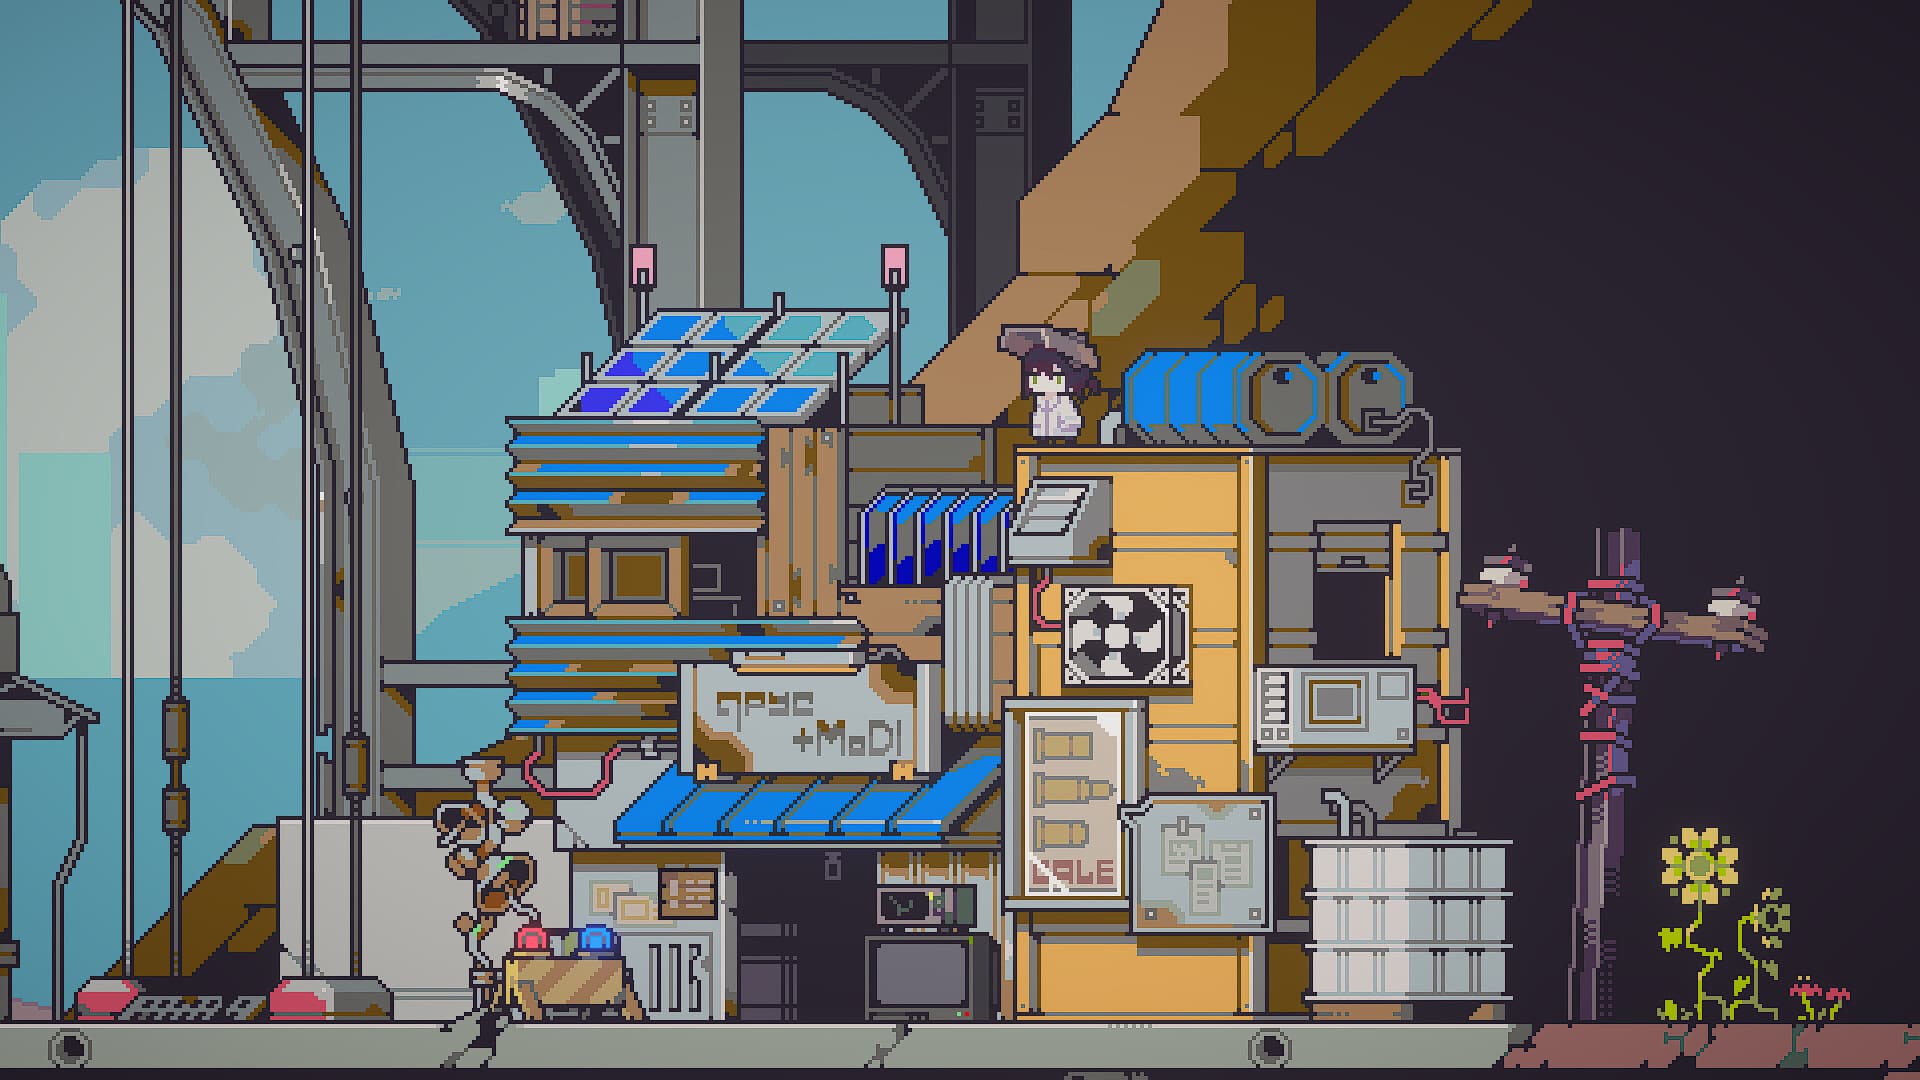
Build automation in order: central storage, sprinkler coverage, weather protection, profitable processing, then Cargo Drone shipping. Test every device before expanding the farm.
How farming automation works
Doloc Town farming automation works best as a staged chain: organize storage, remove daily watering, protect crops from hostile weather, place processing beside materials, and finish with Cargo Drone shipping. Do not automate an unstable farm. A machine cannot repair a scattered platform layout, missing storage, or a crop plan that loses money before processing begins.
Build one reliable vertical growing layer first. Use durable Plant Basins instead of treating temporary cardboard planters as a permanent production system, preserve straight harvesting lanes for the Sickle, and keep the most-used material boxes near the machines that consume them. The goal is fewer repeated trips and more time for fishing, quests, and exploration.
Prepare the farm before adding machines
Early horizontal space is limited, so expand upward with Platforms instead of placing every basin and machine across the ground. Soil and Wood support the first durable growing layers, but Soil generation can be limited. Collect both before committing to a large expansion that cannot be planted or maintained.
Cardboard Boxes are the cheapest early logistics tool. Each box can hold five item types, and stored Wood, Stone, Fiber, and similar materials remain available for crafting. Lank's quest line can provide a Storage Shelf that holds six boxes without consuming their durability, making it a practical center for an early workshop.
Place frequently used storage within two horizontal or vertical tiles of a crafting machine when the current layout allows it. Recorded version 1.0 gameplay shows machines drawing materials from nearby storage, so a compact shelf-and-machine cluster reduces backpack shuffling. Keep one side open for access instead of surrounding the shelf so tightly that finished items become awkward to collect.
Doloc Town farm layout and sprinkler coverage
Watering is the first repeatable chore worth removing. The Manual Sprinkler is the early target from the Tech Tree, followed by the Electric Sprinkler when the farm is large enough to benefit from broader coverage. Gather Copper in Rivervalley only after the access route is ready, and reserve enough for a Lightning Rod before spending every ingot on tools or expansion.
| Device | Recorded coverage | Best placement | Layout rule |
|---|---|---|---|
| Manual Sprinkler | Approximately 7×3 | Below or in the center of an early crop layer | Use vertical coverage instead of lining every basin on the ground |
| Electric Sprinkler | Approximately 10×5 | Center of several stacked crop rows | Leave a maintenance path and a clear Sickle lane |
| Storage Shelf | Six boxes | Central workshop layer | Keep relevant boxes within machine reach |
| Cargo Drone pad | Shipping edge beside storage | Near processed goods and surplus crops | Load the pad, then start the Drone manually |
The coverage figures come from recorded full-release gameplay and may change with patches, so treat them as layout guidance rather than permanent tile specifications. Before rebuilding an entire farm, place one sprinkler and verify every basin it reaches. A Farm Expansion is most valuable when it provides enough room to realign sprinklers, Platforms, storage, and machines—not simply when it adds empty floor area.
Protect automation from weather
Acid Rain and Thunderstorms can break the value of an unattended crop loop. Check each seed's resistance instead of treating all rain as free irrigation. Vulnerable crops should use Plastic Mulch or Containers, while a Lightning Rod protects the wider farm from storm damage.
Prioritize protection before adding another row of basins. A smaller protected farm produces more reliable cooking and processing inputs than a larger layout that repeatedly loses crops. Containers are especially useful for high-value or weather-sensitive plants because they can isolate the crop from hostile conditions.
Keep weather protection visible in the floor plan. If a sprinkler expansion forces vulnerable crops outside protected space, pause the expansion and reposition the layer first. Automation is successful only when the harvest remains dependable across changing weather.
Connect harvesting, processing, and storage
Arrange crops by harvest timing so a single Sickle pass can collect a mature row. The Sickle can gather multiple plants inside its attack area, which is why straight access lanes matter even after sprinklers remove watering. Press E to check maturity, water, mulch, and compost state before assuming a slow crop is a machine failure.
Move processing equipment beside the storage that holds its inputs. Use separate boxes for building materials, soil, ore, ordinary harvests, and goods waiting for processing. This prevents a full backpack from becoming the actual bottleneck while sprinklers and crops continue to work normally.
Processing is not automatically profitable. Compare the current raw sale value with the finished value before committing a full harvest, especially when seasonal prices change. Keep quest, research, cooking, and seed materials out of the shipping box so the production loop does not consume the next progression requirement.
Use the Cargo Drone correctly
The Cargo Drone is the shipping end of the automation chain, not an instant cash register. Place surplus crops, fish, or verified profitable processed goods on the landing pad, then actively start the Drone. It leaves for several in-game minutes and returns with Goldcoin after the delayed sale.
Put the pad beside storage or processing rather than at the far end of the farm. This keeps finished stock moving in one direction: crop layer to storage, storage to processing, and processed surplus to the Drone. Do not send food needed for exploration, rare fish reserved for collection, or materials assigned to an active quest.
Recommended automation order
- Build durable Plant Basins and straight Platform lanes.
- Centralize common materials in Cardboard Boxes and a Storage Shelf.
- Unlock and test one Manual Sprinkler before expanding the crop layer.
- Add Plastic Mulch, Containers, and a Lightning Rod where weather requires them.
- Upgrade to Electric Sprinklers only when their larger coverage replaces meaningful daily work.
- Place processing beside its input storage and verify each recipe's gain.
- Add the Cargo Drone pad beside finished-goods storage and start each shipment manually.
This order also supports the crop-volume achievements. It's Getting There requires planting 100 crops, while Post-Apocalyptic Oasis requires 1,000. Treat those milestones as checks that the layout can scale without turning every morning into storage and watering cleanup.
Version notes
The device coverage above is taken from full-release gameplay footage, but exact prices, ranges, and unlock costs can change. Any figure not shown in the current in-game Tech Tree should be treated as To be confirmed after a patch. The stable planning rule is unchanged: protect the crop loop first, shorten material movement second, and automate only the chores that are already producing useful output.
How this guide was checked
Automation advice is based on version 1.0 machine, sprinkler, storage, and Cargo Drone observations in the supplied research.
- Official Doloc Town Steam pageRelease, developer, platform, and official game overview.
- Steam Community reference guideCommunity-maintained reference tables checked against the collected notes.
- 30+ Early Game Tips & Tricks videoFull-release gameplay demonstrations and timestamped route notes.
Reviewed by the Doloc Town Wiki editorial team for version 1.0 · Last evidence review: 2026-08-17 · Read the editorial policy
Choose the crop loop first
Plan growing months, watering and weather protection before automating the routine.
Doloc Town Crops Guide: Seasons, Yields & Genes